Have you ever walked into a clothing store as an employee was folding clothes using one of those folding boards? I would sometimes stop for a minute and watch them out of the corner of my eye. I didn’t want to stare and be a creepy person but I loved how fast and easy it was to get perfectly folded clothes!
Do you ever wish you could have perfectly folded clothes like that at home? I know I have although maybe that’s just some OCD coming out in me. Well, if you have had a similar thought to me, guess what? You are in luck because you can easily make one of those at home. Below I will show you how to make a clothes folder.
What Do You Need to Make A Clothes Folder?
The supplies to make the clothes folder board are pretty simple. In fact, you probably have them somewhere in your home.
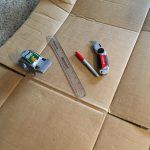
You will need the following:
- Cardboard or foam board (I used some cardboard boxes I had saved)
- Sharp knife or scissors
- Packing tape or duct tape
- Ruler or measuring tape
- Marker or pen
Measure and Cut
There are a few different options when making a clothes folding board. Personally, this is the version I like best and seems to work well for our family. If you have larger or taller shirts, I would recommend this way, as it allows for the 3rd fold. Also, this board folds up easily for storage which is another great benefit.
You will need to cut out the following pieces from your cardboard or foam board
- 2 – 10″ x 24″ (label as A and E)
- 2 – 10″ x 12″ (label as B and C)
- 1 – 10 ” x 6″ (label as D)
I find it easiest to start with cutting out 10″ pieces and then cutting to the proper length after that. There is no right or wrong way as long as you end up with the proper length pieces as mentioned above.
Arrange and Tape
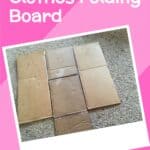
Once you have all your pieces cut out and labeled, you will arrange them as shown in the photo below.
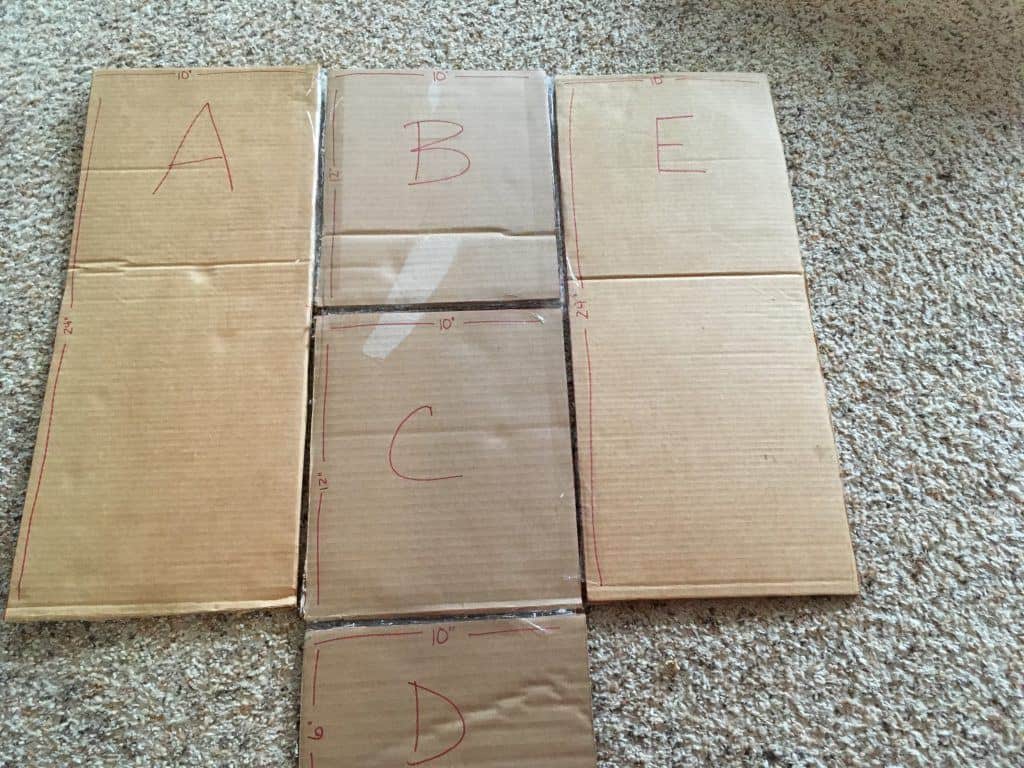
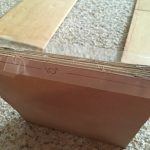
The two 10″ x 24″ pieces will be the outside pieces (labeled as A and E). In the middle, you will arrange the two 10″ x 12″ pieces. You line the one up with the outside pieces and then arrange the other one below (labeled B and C). At this point, it should be a rectangle. You will then place the 10″ x 6″ piece below the middle section (labeled D). This will make the middle section longer than the other two sections. This allows for the extra fold for longer shirts.
Once you have them arranged, you will need to tape them together. In order for it to fold up well for storage, you will need to leave a small gap between the pieces. I usually stack two pieces and then tape them together. Make sure that you tape on both sides. So stack and tape together and then fold the other way and tape. If you don’t tape both sides, the tape will be sticky through the gap on the other side. It will make folding your shirts a little more difficult if they are stuck to the tape 🙂
Tape B and C and D together as arranged. Then tape A to B, however, make sure you only tape to the length of B or it will not fold. Repeat with E – again make sure you only tape length of B.
Ready, Set, Fold
Your clothes folder is now complete and you are ready to fold your clothes. Wasn’t that easy?! I was surprised that there wasn’t more to it. How do you use it though? There is a sequence to follow but it’s really simple.
Place the front of the shirt face down on the cardboard centered on the middle section and lined up close to the top edge. Depending on picky you are, I usually make sure the shirt is straightened and smoothed out for a cleaner fold and less wrinkled. Also, if it is long sleeves, fold the end of the sleeves over so they are on the cardboard.
Take one side and fold over towards the middle and then repeat with the other side. If your shirts are longer, this is where that extra piece on the bottom comes into play. Next, you fold the little bottom piece up and then fold up the middle piece towards the top. This will make that perfectly folded square shirt.
Here are a couple of additional hints.
- If you find you are having static issues, you can cut out some holes in the outside pieces to reduce that static when you fold.
- For kids clothes, center the shirt over the gap between the sections labeled B and C. You want that middle fold to be halfway down the shirt so it folds over evenly and one side isn’t longer than the other. This is really only a factor with kids clothes or maybe petite clothes.
Even Kids Can Do It!
After I made my first one, my kids started arguing about who got to use it! I stood there in shock as they were complaining that the other one got to fold clothes!! Granted at times they just argue with each other for the sake of arguing. I really hope my kids aren’t the only ones who do that! They asked me multiple times to make a second one so they could each have their own. So let’s break this down – they would be folding their own clothes, it would stop them arguing and all I had to do was spend a few minutes making one. Of course, that seemed like an easy answer to me. No problem kids! Now they can fold their own clothes and actually enjoy doing it. I love it because it’s one less thing I have to do!
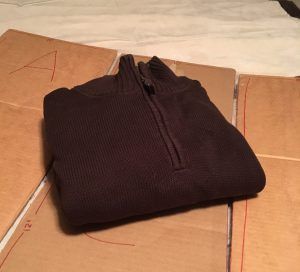
Here’s the final product using the clothes folding board I just made.
If you love the idea of a clothes folder but need a more visual example, you can watch this YouTube video
If you don’t have the time to make one, don’t have the supplies or would like a more professional one, you can purchase one from Amazon.
If you are looking for more ideas on organizing your clothes, check out this post.



I love this! I made one for the kids, and they loved using it. And I loved having the extra hands folding all of our laundry. 🙂
Same with my kids. I am not going to turn down help with folding laundry! 🙂
Not only I love the idea but would be dreaming of having all piles of clothes well folded and all aligned.
I love the look of the perfectly folded clothes in my closet. I know I’m probably weird but I actually find it calming to see them neat and tidy.
This is a great way to upcycle an old cardboard box!
Thanks. I loved that I could make the clothes folder with supplies I already had on hand. I love shopping from Amazon so I seem to always have cardboard boxes piling up in the garage!
Loved this idea. Will try it soon
I would love to hear how it goes for you.
I need this. How my kids fold their clothes drives me absolutely insane. I’m so particular about folding!
I’m the same way about folding clothes but this is a win-win as the clothes look great and the kids can do it!
I have heard of these but really never knew if I would really use this all the time. If I made it myself than no problem.
That was the same as me but once I saw how it easy it was, I thought I would give it a try. It also helps me keep my closets and drawers more organized since my clothes are all folded to the same size.
This is a great idea! Also perfect for teaching kids to fold clothes! I didn’t realize store employees did it this way. I always wondered how they folded all the clothes perfectly.
I still find it funny when my kids want to fold the clothes instead of me! Of course, I will not turn down their offer to help! 🙂
What a cool idea! I have not considered this idea before, but it is really ingenious and fairly simple. It makes the shirts look so nice! And what a great project for kids.
I wish I had seen this before I threw out all the boxes from Christmas. Thank you for this post!
I’m glad you enjoyed the post. I was thrilled when the kids actually wanted to use it!
If you don’t have cardboard, I believe the dollar store sells foam board.
Julie